Updating plugins in WordPress is a straightforward process. However, it’s crucial to remember to create a backup of your website before proceeding.
Here’s a step-by-step guide on how to update a WordPress plugin manually:
- Access Your WordPress Back-End Dashboard: Log in to your WordPress admin area.
- Navigate to the Plugins Section: In the left-hand menu, click on “Plugins.”
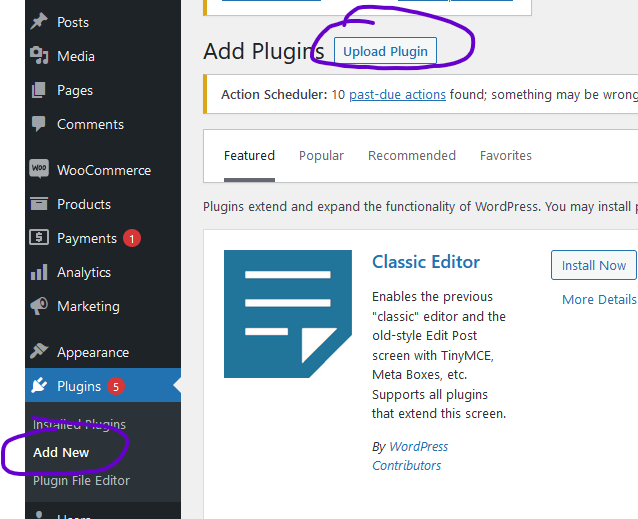
- Add a New Plugin: Once in the Plugins section, select “Add New.”
- Upload the Plugin: Click on the “Upload Plugin” button at the top of the page:
- Select the Plugin ZIP File: Choose the ZIP file of the updated plugin you want to install from your local computer.
- Install the Plugin: After selecting the file, click the “Install Now” button.
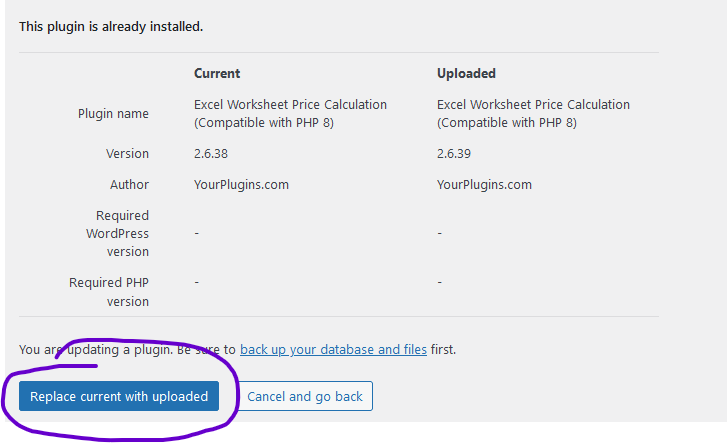
- Replace Current with Uploaded: WordPress will recognize that you are trying to install a new version of the plugin. When you’re ready to proceed, click on “Replace current with uploaded”: